First, Decide What the Chatbot Is For
A chatbot that can “answer anything” usually answers nothing well. Pick the job before you pick the tool. On my site the job is narrow: tell visitors about my skills, projects, and posts, then point anyone who wants to hire me at the contact form. A dental clinic's bot might answer insurance and hours questions and send people to booking. A store's bot might help someone find the right product size.
Write down the five or ten questions your visitors actually ask. Your inbox and your contact form are the best sources. If those questions all have short, factual answers, a chatbot will do well. If they need someone to look at an account or a calendar, you're building something bigger, and the chatbot needs access to those systems.
Three Ways to Add an AI Chatbot
1. A hosted chatbot service
Services like Intercom, Tidio, and Chatbase let you sign up, give the bot your website or a few documents to learn from, and paste a script tag into your site. You can have something live in an afternoon without writing code. You pay a monthly subscription, the widget looks like their widget, and your visitors' conversations are stored on their servers.
This is the right choice for a lot of small businesses. If you need a bot this week and don't care much about the design, start here.
2. A WordPress plugin
If your site runs on WordPress, chatbot plugins wrap the same idea in a settings screen. Some connect to a hosted service. Others ask for your own OpenAI or Gemini API key and call the model for you. Check two things before you install one: where it stores the key, and whether it loads a heavy script on every page. Chat widgets are third-party scripts, and third-party scripts are a common reason a WordPress site gets slow, which I wrote about in my post on WordPress performance.
3. A custom build with an AI API
This is what I did. You write a small server endpoint that talks to an AI model, and a chat component that talks to your endpoint. It takes more work up front. In exchange you control the design, the instructions, which model you use, and what happens to the messages. You also pay the AI provider per message instead of paying a subscription, which on a small site works out cheap.
The rest of this post is about that third option, using the code that runs on this site.
How My Chatbot Is Built
The site is Next.js. The pieces are:
components/ChatWidget.js, the floating button and chat panelpages/api/chat.js, a server route that receives a message and the conversation so far, then asks Gemini for a reply- the
@google/generative-aipackage and aGEMINI_API_KEYenvironment variable on Vercel
I picked Gemini 2.5 Flash because it's fast and cheap, and a portfolio assistant doesn't need a big reasoning model to say which projects use React. I made the same call for Focus Copilot, for the same reasons.
Keep the API Key on the Server
This is the one rule you can't skip. If the browser calls the AI provider directly, the API key has to be in your JavaScript, and anyone can open dev tools and copy it. Then they're running their own app on your bill.
So the browser only ever talks to my endpoint:
const res = await fetch("/api/chat", {
  method: "POST",
  headers: { "Content-Type": "application/json" },
  body: JSON.stringify({ message: userText, history }),
});
And the endpoint is the only code that knows the key:
const genAI = new GoogleGenerativeAI(process.env.GEMINI_API_KEY);

const model = genAI.getGenerativeModel({
  model: "gemini-2.5-flash",
  systemInstruction: SYSTEM_CONTEXT,
});

const chat = model.startChat({ history: safeHistory });
const result = await chat.sendMessage(message);
res.status(200).json({ reply: result.response.text() });
If the key is missing, the route returns a 503 and the widget shows a friendly error. A missing key shouldn't take the whole site down with it.
The System Prompt Is Most of the Work
The model knows nothing about you. Everything it says about your business comes from the system prompt, the block of instructions sent with every conversation. Mine holds my bio, skills, work history, every project, every blog post, and my contact links, followed by rules about tone and length.
The first version had the projects typed in by hand, and before long it was describing work I'd replaced and skills I no longer listed. Now the prompt is built from the same data files the site itself renders, so a new blog post shows up in the chatbot's answers the moment it's deployed:
import { BLOG_POSTS } from "../../lib/blogPosts";
import { projects } from "../../lib/projects";

const BLOG_SECTION = BLOG_POSTS.map(
  (post) => `- "${post.title}" — ${post.description} URL: ${SITE}/blog/${post.slug}`
).join("\n");
If your content lives in a CMS, the same idea works: fetch the pages, services, or FAQ entries and build the prompt from them. For a large site with hundreds of pages you'd search for the relevant ones per question instead of sending all of them, but a small business site fits in one prompt without trouble.
Stop It From Making Things Up
Ask a model for a link to a blog post it hasn't been shown and it will often write one anyway: right domain, sensible slug, 404. When a model doesn't have a fact, it writes something shaped like one.
These rules in my prompt handle most of it:
If asked something you don't know about Yana, say you're not sure
and suggest contacting her directly.

Only share blog URLs exactly as listed above — never invent one.

Keep responses brief (2-4 sentences max).
The length limit helps more than you'd think. A model asked for two sentences has less room to drift into things it doesn't know. For a business, the facts that matter most are prices, hours, and policies. Put them in the prompt word for word, and tell the bot to send people to a page or a person for anything else.
Protect the Endpoint
A public chat endpoint is a public door to a paid API. Mine checks a few things before it calls Gemini:
- Rate limit. Ten requests per IP address per minute, then a 429 error that the widget turns into “please wait a moment.”
- Message size. Messages over 2,000 characters and conversations over 40 turns are rejected, so nobody can paste a novel in and run up the bill.
- History roles. The browser sends the conversation history back on every message, and anything from the browser can be edited. The server keeps only entries with the role
userormodeland plain text, so nobody can slip in a fake “system” message.
One caveat about my rate limiter: it's an in-memory map, and on Vercel each serverless instance has its own memory, which resets on a cold start. It stops casual abuse and that's all. For a busier site I'd move the counter into Redis or the database, and I'd set a monthly spending cap in the AI provider's console either way.
The Chat Window Itself
A few small decisions made the widget easier to use:
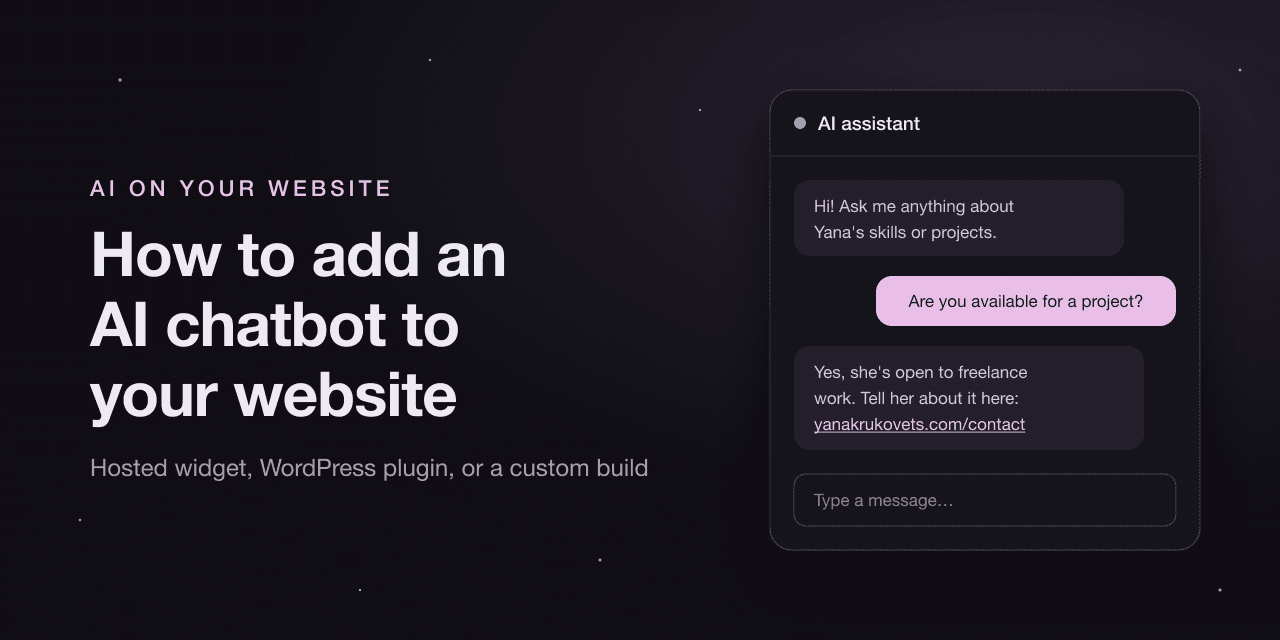
- Suggested questions on first open (“What projects have you built?”, “Are you available for hire?”), because a blank text box makes people freeze.
- Links in replies become clickable. I split the text on URLs and render real
<a>tags instead of injecting the model's output as HTML. Model output is untrusted text, so it never goes throughdangerouslySetInnerHTML. - Enter sends and Shift+Enter adds a new line, the input gets focus when the panel opens, and the panel scrolls to the newest message.
- Other parts of the page can open the chat. The “Ask my AI assistant” card on the homepage just fires
window.dispatchEvent(new Event("open-chat")).
Privacy and Measuring Whether It Helps
Visitors type things into chat boxes that they wouldn't put in a form, including names, emails, and sometimes details about their health or money. Every message goes to the AI provider, so say so in your privacy policy, and don't store full conversations unless you have a reason to. I don't log message text at all.
I do track one event: when someone opens the chat. It goes into the same first-party analytics I described in my AI search post, so I can see how many visitors open the assistant and whether those sessions end on the contact page. If almost nobody opens it, that tells you something too. Maybe the button is in the wrong place, or the site already answers the questions people have.
Which Option Should You Pick?
If you want a chatbot running by Friday and the default look is fine, use a hosted service. If you're on WordPress and want to stay inside the admin, try a plugin, and test your page speed before and after. If the chatbot is part of your brand, needs to follow strict rules about what it says, or has to connect to your own data, build it. The build is a few days of work for a developer, and after that you pay only for the messages.
Frequently Asked Questions
How much does it cost to add an AI chatbot to a website?
A hosted chatbot service usually charges a monthly subscription, often with a free plan for low traffic. A custom chatbot has two costs: the development time to build it once, and the per-message fee from the AI provider. On a small business site using a fast, cheap model like Gemini Flash, the per-message cost is small enough that the build is the main expense.
Can I add an AI chatbot to my website without coding?
Yes. Hosted chatbot services give you a script tag to paste into your site, and on WordPress there are plugins that do the same thing. You upload your content or point the service at your pages, and it answers from that. The trade-off is less control over how it looks, what it says, and where visitor messages are stored.
Will an AI chatbot make things up about my business?
It can. Language models fill gaps with plausible guesses, and prices, opening hours, and links are where that hurts most. You reduce it by giving the bot the facts in its instructions, telling it to say it doesn't know when the answer isn't there, and forbidding it from producing any URL that isn't on a list you gave it.
Is it safe to call the AI API directly from the browser?
No. Anything in browser JavaScript can be read by visitors, so an API key there can be copied and used on your bill. Put the key in a server-side environment variable and have the browser call your own endpoint, which then calls the AI provider. That endpoint is also where you add rate limits and input checks.